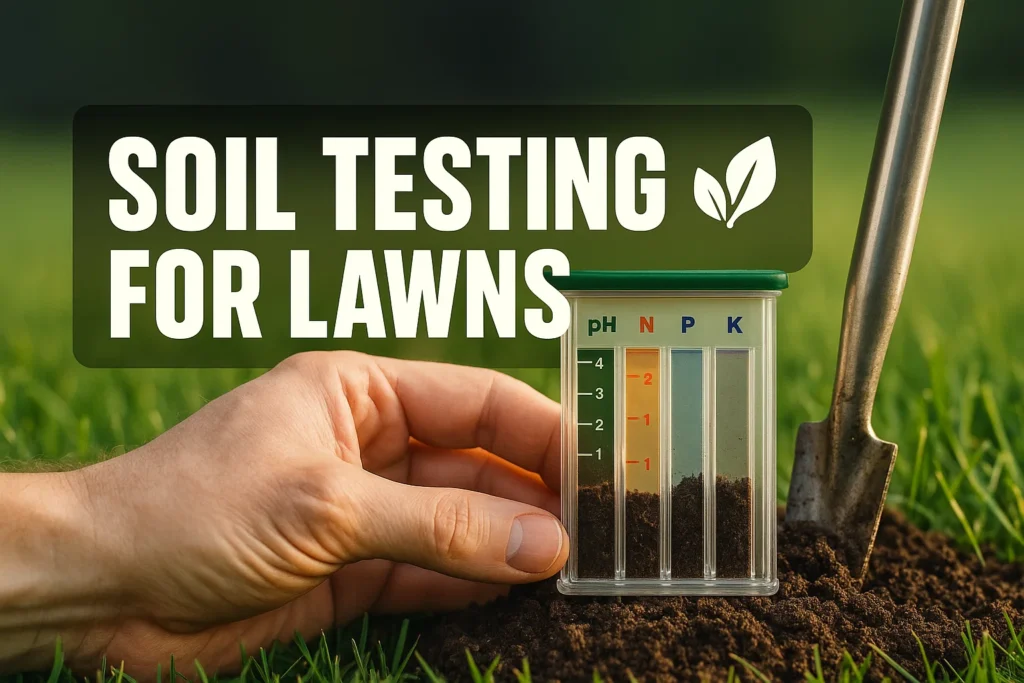
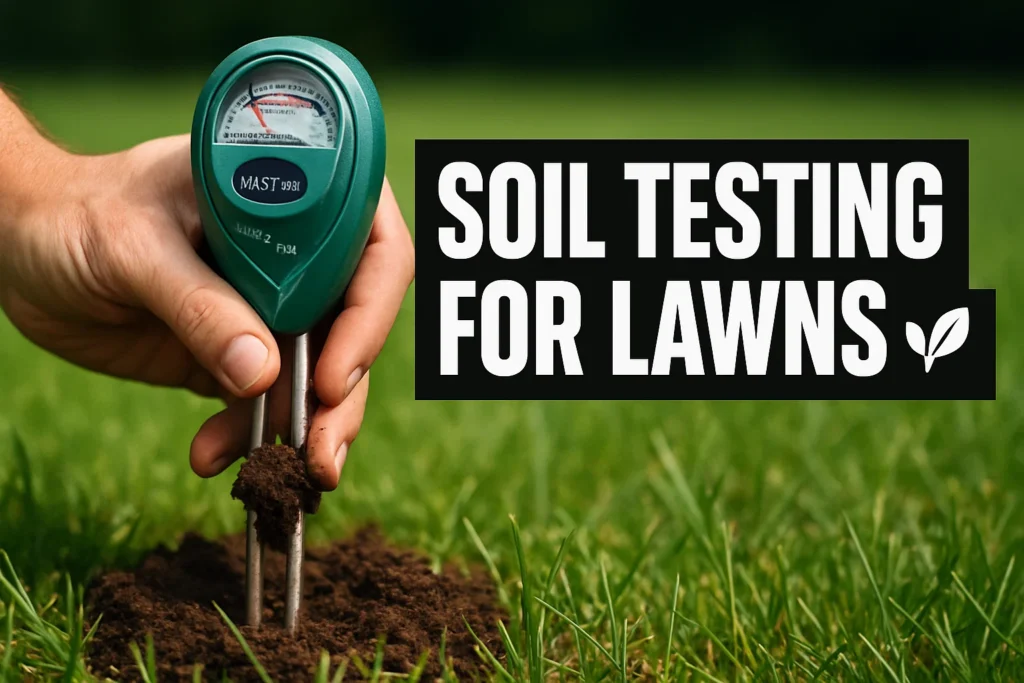
Healthy lawns don’t just happen; they begin with healthy soil. Although many homeowners know how often to water and mow their lawn, and which fertilizer to use, the best lawn care strategy is what you do when no one can see it. If you’ve ever wondered, after enough efforts, why the grass isn’t growing, the answer could be in your soil. The soil test for lawns is easy, but it is a powerful tool to show you the actual state of your soil. It shows you pH, nutrients, and fertility, which helps you understand the exact condition of your soil. So that you can make better decisions about lawn care. In this guide, we’ll learn why soil testing for lawn is important, how to test and interpret your results so you can grow a better, greener lawn.
The Importance of Soil Testing for a Healthy Lawn
First, you must know what type of soil your lawn has so you can buy the correct kind of fertilizer or treat it properly. Soil tests could also bring to light issues under the surface that are preventing grass from growing, such as bad pH, compaction, and elemental deficiencies. Considering these issues from the start can save frustration, not to mention time and money spent experimenting, while nurturing the conditions for a lawn that’s lush and green.
Understanding Lawn Soil Composition
- The ideal lawn soil is variously described as having:
- The proper texture (distribution of sand, silt, and clay particles)
- Sufficient organic matter
- Good populations of beneficial microorganisms.
Moreover, your soil’s texture and structure determine how well it’ll hold water and nutrients. The composition of soil also affects the ability of grass roots to grow and spread.
How Soil Affects Grass Growth
Grass has as its foundation soil. Soil rich in nutrients, yet well-drained, promotes deep roots that are more drought-resistant and disease-resistant. Bad soil conditions can stunt growth, lead to yellowing, and make your lawn susceptible to infestation by pests.
COMMON LAWN PROBLEMS DUE TO POOR SOIL
- Compacted soil
- Low nutrient levels
- Imbalanced pH.
- Poor drainage
- Excess thatch
- Over-fertilization or chemical accumulation
Key Components Soil Testing Reveals

Soil testing provides one of the clearest pictures of what’s going on beneath the surface of your lawn. It’s not merely about detecting whether something’s “off” — it tells you what conditions are there (or not there) that make grass less (or more) likely to grow. Understanding the precise pH level, nutrient makeup, and physical health of your soil allows you to make more informed decisions about caring for your lawn and to address the problem.
1. Soil pH and Its Importance
Nutrient availability is affected by the pH of your soil. Grasses generally grow best between a pH of 6.0 to 7.0. If your soil is overly acidic or too alkaline, vital nutrients may become “bound up,” which prevents them from being available to your lawn.
2.Nutrient Levels (N-P-K and Micronutrients)
Soil test results tell you how much of the big three nutrients, nitrogen (N), phosphorus (P), and potassium (K), are in your soil, as well as secondary nutrients such as calcium, magnesium, and sulfur. These are very important nutrients for the development of a strong root system, disease resistance, and deep, green color.
3.Organic Matter and Compaction Issues
A solid soil test should also be able to tell you how much organic matter is present, as well as whether the soil is compacted. With a higher organic matter content, moisture holding capacity, and microbial activity. At the same time, soil that has been compacted also limits root development and airflow.
How to Test Your Lawn’s Soil
Knowing how to properly check your lawn soil is one of the keys to revealing hidden problems and planning out your lawn care. Whether you’re doing it yourself with a kit or sending samples off to a lab, soil testing gives you a clearer idea of what your grass wants and needs to grow hardy and resilient. The correct selection of this technique and obtaining representative samples is crucial to ensure reliable results.
Step-by-Step Soil Sampling Guide
To get the most meaningful results:
- Sample with a clean shovel or soil probe from several places in your yard, particularly areas with different performance.
- With a clean bucket, mix samples.
- Allow them to dry before dumping them into the sample container provided.
What to Do if Your Soil Is Too Acidic or Alkaline
If your soil pH isn’t quite right, you’ll have to amend your lawn with lime (to raise pH) or sulfur (to lower pH). Obey lab instructions for rates of application, lest you overcorrect.
Addressing Nutrient Deficiencies
You can naturally increase your HCL production by increasing nutrient-dense foods. Your soil report will tell you whether you need to boost the nitrogen, phosphorus , or potassium content of your soil. Select the fertilizer according to the deficiencies shown. Organic choices are compost, bone meal , and extracts of seaweed.
Adjusting Soil With Natural Amendments
Add compost, aged manure, worm castings, or biochar to naturally enhance the soil structure and fertility. Such are enriched with microbial life and the ability to hold capacity.
Ongoing Soil Health Maintenance Tips
Maintaining your soil is an ongoing practice that keeps your lawn looking vibrant, green, and lush through seasonal fluctuations. With routine monitoring, seasonal care, and soil-friendly habits, your lawn will thrive for years to come. Below are tips for keeping your lawn soil healthy year-round through proactive maintenance.
When to Retest Your Soil
- Retest the soil every 2 to 3 years to observe any possible adjustments and to refine treatments.
- If you’re actively changing pH or nutrient levels, test once a year.
- Resetting after a significant renovation, retest to ensure your improvements are having the desired effect.
Aeration, Composting, and Mulching Tips
Aerate dense soil every year to increase oxygen circulation and water absorption.
- Compost topdress in spring or fall to resurrect organic matter.
- Mulch grass clippings, don’t bag them!
- Apply leaf mold in fall as a natural mulch and organic booster.
- Work in aged manure during cooler months to add nutrients to the soil.
Preventing Soil Erosion and Compaction
Install stepping stones in high-traffic areas to prevent damage to the lawn.
- Use native groundcovers or low-maintenance turf on inclines.
- Do not mow when the soil is wet to minimize rutting and compaction.
- Enhance your drainage with French drains or swales where runoff is an issue.
- Plant cover crops in the off-season to minimize erosion and increase the fertility of the soil.
DIY vs. Professional Soil Testing
DIY kits offer rapid results, but they may not be the whole story. You might want to consider professional lab testing for deeper insight. You can have your soil tested locally through extension services or agricultural labs, which can offer more specific recommendations for improving your lawn.
Conclusion
Soil testing takes the guesswork out of lawn care. With this information, you’ll be able to make informed changes, so your grass can be be better fed and more disease-resistant. Finally, whether you are dealing with yellowing spots or even contemplating a full overhaul of your lawn, the gift of testing is your best weapon.
FAQs
How often do I need to test the soil of my lawn?
Once every 2-3 years, or even more often if you’re in the process of making adjustments or working on specific issues.
How can I make lawn soil quality organic?
Yes, by adding compost and mulching, aerating, and using too many chemicals, you can work to improve your soil health.
How much pH level is best for grass to grow?
The best pH for most grasses is 6.0 to 7.0 because it allows the roots to grow well and take up the nutrients found in the soil.


