Lawn striping is a great way to improve the look of your yard at home. By mowing light and dark stripes in the grass, you’ll give your lawn a crisp, professional appearance, without spending a lot of money. In this guide, we’re going to discuss how to stripe your lawn with a push mower, DIY lawn striping techniques, and some tips for perfect stripes.
Why Stripe Your Lawn?
Lawn striping is more than a fleeting fad — it’s a way to go from ordinary green grass to extraordinary lush lawns. Most homeowners don’t realize the advantages of well-manicured striped lawns, but they go beyond curb appeal. Lawn striping can:
- Improve curb appeal: There’s nothing like a striped lawn to make your yard look neat, giving it a professional, finished appearance quickly.
- Increase grass health: Cutting in any direction could make your grass grow healthier. It promotes straight grass growth and prevents grass from developing a proneness bow from one side.
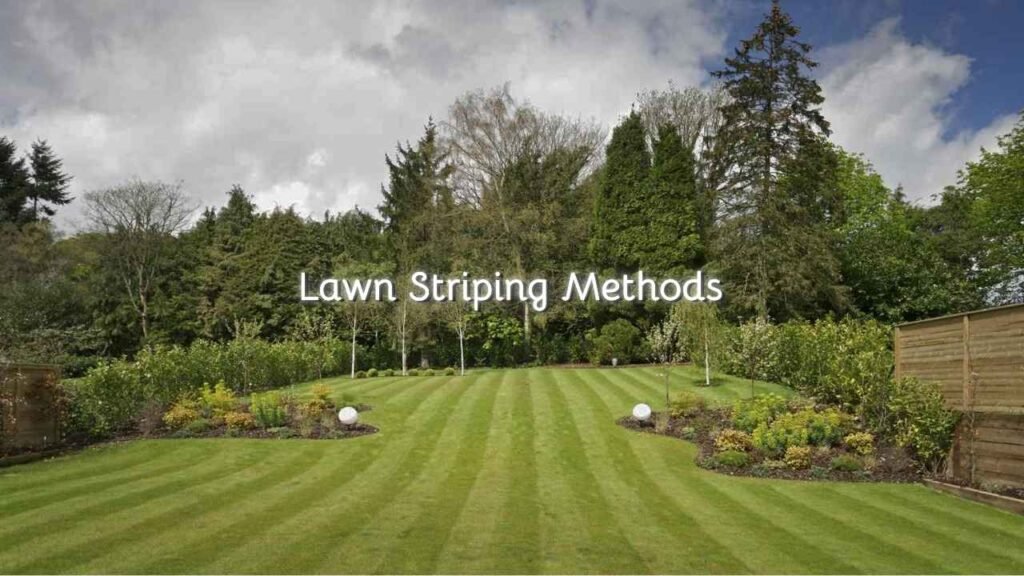
- Add dimension: Stripes give your lawn more of a 3D look while also adding some visual interest.
- Increase property value: Curb appeal is huge in real estate , and if you have a great striped yard, you can make quite the first impression.
Furthermore, by learning the technique on how to stripe a lawn, you can reinvent your yard and leave a memorable impression on family and guests.
How to Stripe Lawn with a Push Mower
It’s easy and affordable to mow your lawn with a push mower. Perfect stripes are achievable when done properly with the right technique and tools, even for homeowners without a pro lawn service. Here’s how to do it:
Choose the Right Tools
The very first step is to pick the right gear. You will need a push mower, lawn striper, or roller attachment. These accessories fit on your push mower and contribute to the striping effect by moving your grass in different directions as you mow. Moreover, you can buy ready-made kits, but it’s easy to make your own at home for less.
Mow in Opposite Directions
Begin by mowing the first strip in one direction (e.g., north to south). For subsequent stripes, reverse the direction (east to west). However, repeating a back-and-forth mowing pattern is what causes the light and dark stripes in the lawn. Just be sure to change the direction every time around for that beautiful striped look!
Utilize the Roller Effectively
A roller spreader attachment helps push the grass in the direction you desire, for that “light vs. dark” effect. Ensure the roller is substantial and weighted enough to press the grass into the soil. If you are using a DIY striper, make sure that it is heavy enough for the type of grass in your yard.
Just follow these steps, and you’ll have a striped lawn in no time with no costly equipment or professional help needed.
DIY Lawn Striping Methods
You don’t have to shell out a lot of money to have a beautiful striped lawn. DIY professional results are possible with a few simple and effective methods that anyone can do. Here are a few options:
Homemade Lawn Striper:
You can also make your lawn striper DIY style. You can build one with a few materials, including PVC pipe, a rope, and a weighted roller. Bolt it perpendicularly to the back of your mower and voila – the roller pushes the grass down as you mow, instead of against your mower.
Push Mower Lawn Striper Kit:
You can also buy a pre-made lawn striping kit for your push mower. They include everything you need and are a breeze to mount. They’re usually pretty inexpensive and give you the same results as professionals do.
Roller Attachment:
If you already have a push mower, opting for a roller attachment is one of the simplest and most effective ways to stripe your lawn. The attachments push the grass over so you can create a nice, crisp stripe pattern without much effort.
And DIY Lawn Striping is a fun way to dress up your yard without the expense of equipment or hiring a professional landscaper. You will have beautifully done aesthetics with your homemade or ready-made kit.
Tips for Perfect DIY Lawn Striping
The key to perfect stripes is more than just the proper tools. Here are some expert tips for helping your lawn dazzle:
Use Fresh Grass:
The best time to stripe your lawn is when it’s in the growing season and the grass is full, green, and vibrant. Fresh, thick grass is more flexible, so you can create crisp, clean lines. If your lawn is stressed or dry, stripes are less likely to form.
Maintain Consistency:
Mow at a steady, consistent speed and be sure to mow in straight lines. In addition, inconsistent speed or wobbling could produce uneven stripes, which you likely don’t want ruining the clean and professional finish.
Mow in Different Directions:
For optimal results, alternate your mowing direction every time you stripe. The secret to the light vs. dark contrast is the direction of the mowing, so be sure to alter it with every pass through there.
Use a Sharp Mower Blade:
A dull blade can also tear the grass, and your stripes may not look as good. Keeping the blade on your mower sharp (or replacing it each year) enables you to make a clean cut and lay down a perfect stripe pattern.
Experiment with Patterns:
After you work on the basic stripes, have fun! Consider patterns such as checkerboard, circles, or even spirals. Make sure to alternate mowing directions and go slowly to make sure your lines are straight.
Conclusion
Give your lawn the striped look doesn’t have to be complicated or expensive. With the right tools and techniques, you can do a professional job. If you are working with a DIY lawn striper and a push mower with roller attachment is a rewarding project that anyone can create. In addition to making your yard beautiful, it promotes healthier grass. So get your hands on a push mower, follow these steps, and begin striping the lawn today!
FAQ’s
Absolutely! Plenty of homeowners do amazing striping their lawns with their good old push mower. But be sure to attach a lawn striper kit or a roller for best results.
You should mow your lawn at least once a week, but vary your mowing pattern if you don’t want to notice the stripes.
The ideal time to stripe a lawn is during the growing season — usually spring or early summer. Don’t mow when the grass is under stress or especially dry.
Yes! Once you get the hang of basic stripes, feel free to play with other patterns, such as checkerboards or circular designs, that will make your skates stand out.